Friday, October 14, 2011

Zopf Brot

You know the fantastic, braided bread you can buy in the grocery store? Well its fun and easy to make at home! The bonus is you can make it into whatever shape you want, or freeze part of it so that on Sunday you can just pull it out and bake it when you want it.

What you need: ( This will be for the whole package)
1 package of zopf mehl - it comes in 1 kg packages (Migros/Coop) and the recipe is for 500g, so you will need to make sure you double the rest of the ingredients if doing the whole batch of flour
2 of the squares of yeast (Hefe) - found in the refrigerated section of Migros/Coop - usually by the dough
6 dl milk
2 Tbls Salt
2 Tbls sugar
100g butter
1-2 egg yolks - you will brush the yolk over the top of the bread before baking to give it the golden brown color
Optional:
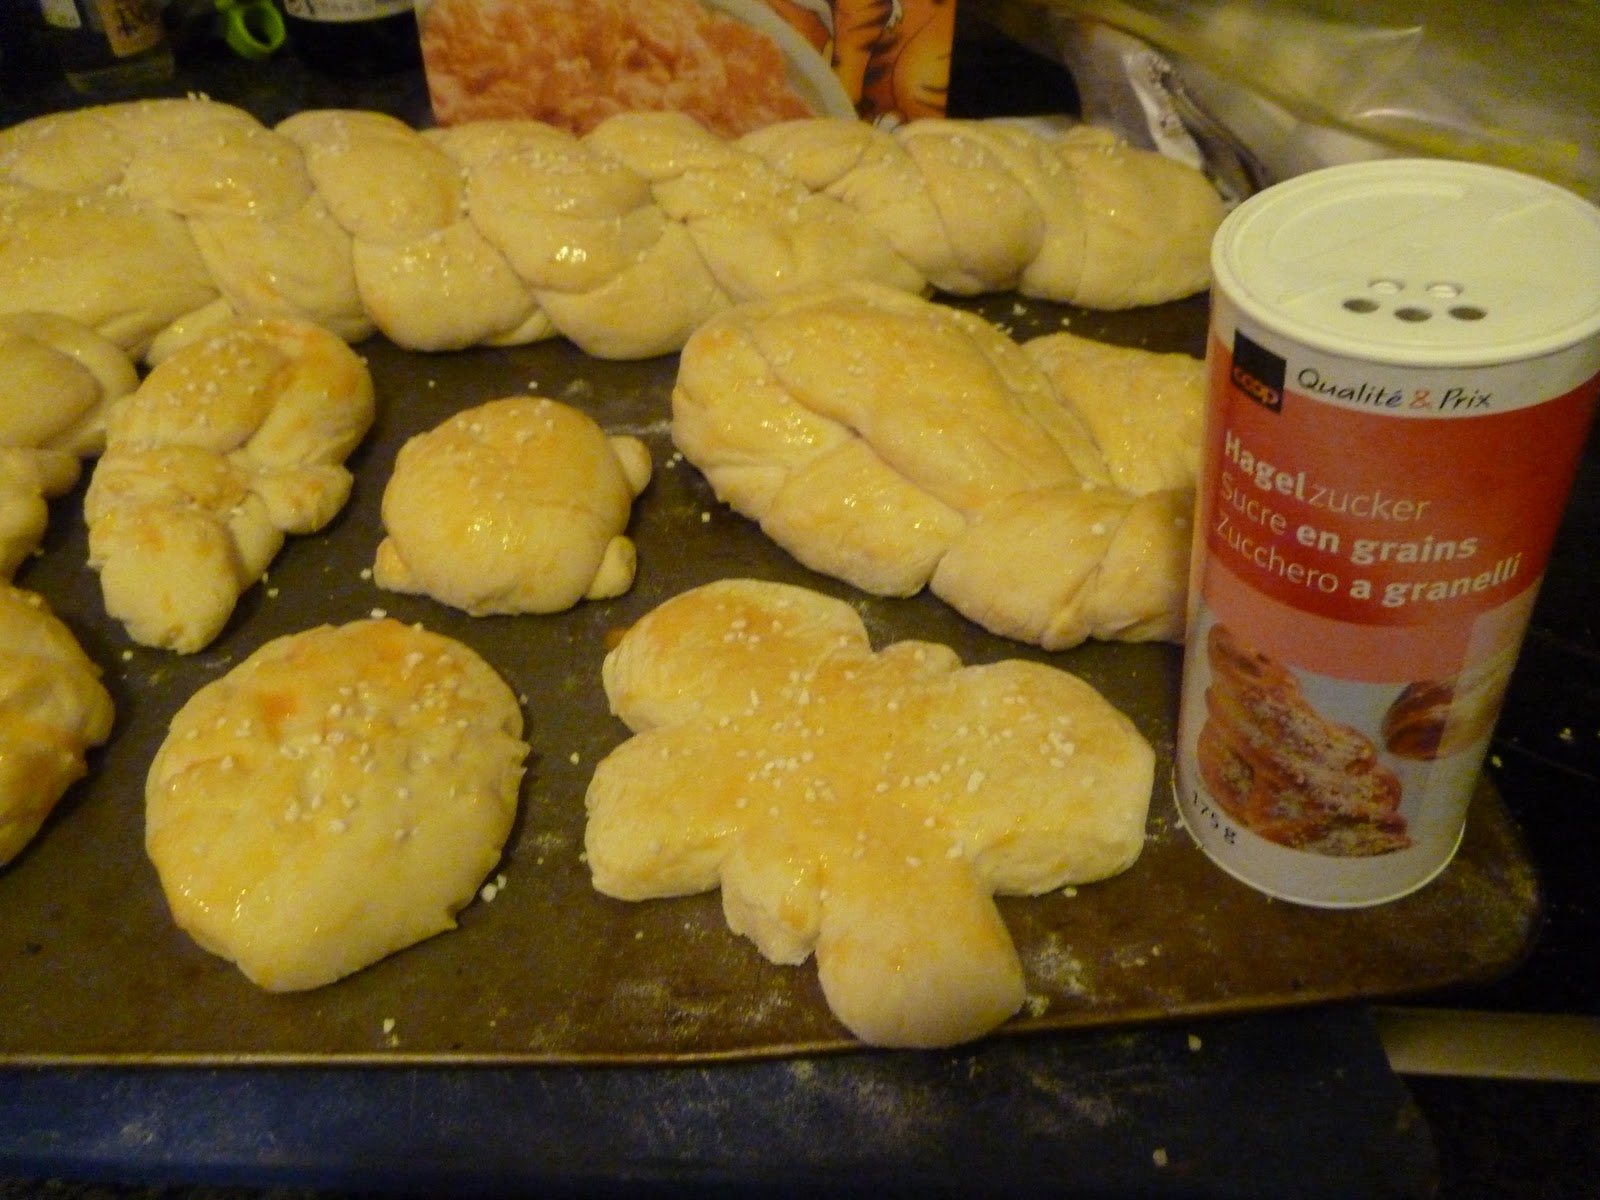
Hagelzucker to sprinkle over the top of the bread before baking (the big sugar crystals)
raisins if you'd like to make 'eyes'
cheese if you'd like to bake it inside the bread/ or fruit/nuts

On very low heat (you will kill the yeast if you do this at a high temperature), combine the milk and butter and when the butter starts to melt, add the yeast and stir until it is no longer solid.

Put the flour and other ingredients in a bowl. Slowly add the liquid and knead until well mixed.  Cover with a cloth and set in a warm place and let sit for an hour for the dough to rise (Note: some of the zopf mehl packages have slightly different directions - this is the Terrasuisse Zopfmehl package)

After the dough has risen, put some flour on your table/counter and divide into 2 sections. Put one section back in the bowl and then separate the 2nd into 2 sections.  Roll them both out into long rolls about an inch or so thick.  You can then twist them together and then form a semi-circle and then twist those together which is the easier way to 'braid'.

You can also take the two rolls and place them over each other to form a cross.  Next, take the right side piece and flip it over the middle and then do the same with the left.  The do the same with the top and bottom pieces until you have finished the braid. Squeeze the ends together a little bit and tuck the extra under.


You can make hedgehogs (use scissors for the spikes and raisins for the eyes)
Cars
Mini braided rolls
Butterflies
After you have formed your dough into the shape you want, you will need to cover it and let it sit for another 40 minutes and it will rise some more.  Next, brush egg yolk on top and (if desired), sprinkle on your sugar

You will then bake it at 220 C for about 30-40 minutes.
Take out and enjoy


Thursday, October 13, 2011

Peanut Butter cups

We all know we can't get everything here that we are used to having. Or if we can buy it, it may be three times the cost. Hubby loves Reeses PB cups so I tried making some with the German chocolate I bought in Konstanz.  Usually for baking chocolate, I like the big Bloc bars from Coop and I think those may make these a bit better.

You don't need a lot of ingredients, just a good peanut butter (crunchy or creamy, whichever you prefer), baking chocolate (or choc chips, just something to melt), powdered sugar and salt.

I had a mini muffin pan, but one is not necessary. You do however need the mini baking cups.

First you will need to melt the chocolate. If you are using a baking bar, it should have instructions on how to melt it. If you are using chocolate chips, you can probably put them in the microwave for about 10-15 seconds at a time and then stir.  I melted mine on the stove as I've had problems with the microwave before (even following the instructions perfectly).  I do not have a double boiler so I make my own by putting a small pan on top of a pot of water. Break the chocolate into small chunks (melts faster) and then bring the water to a boil. Keep mixing the chocolate until it is smooth.

Using a teaspoon, pour a little chocolate into each cup, using the spoon to bring some of it up the edges. More is better so the edges are a bit thicker which makes it easier to pull the baking cup off.  Refrigerate until hard - about 1-2 hours.

While the cups are hardening, mix 1 cup of PB with 1/2 cup of powdered sugar and 1/4 tsp of salt. Blend and then add into the hardened cups
Spread more chocolate over the tops of the PB and put back in the fridge for another 2 hours. I found that they melted in your hand a bit at first but the longer you left them in the fridge, the harder they stayed.