You don't need a whole lot for this. The original recipe I found off a link on Pinterest, you can see it here, but I changed it a bit for what I had available here and what I thought would be good.
What you need:
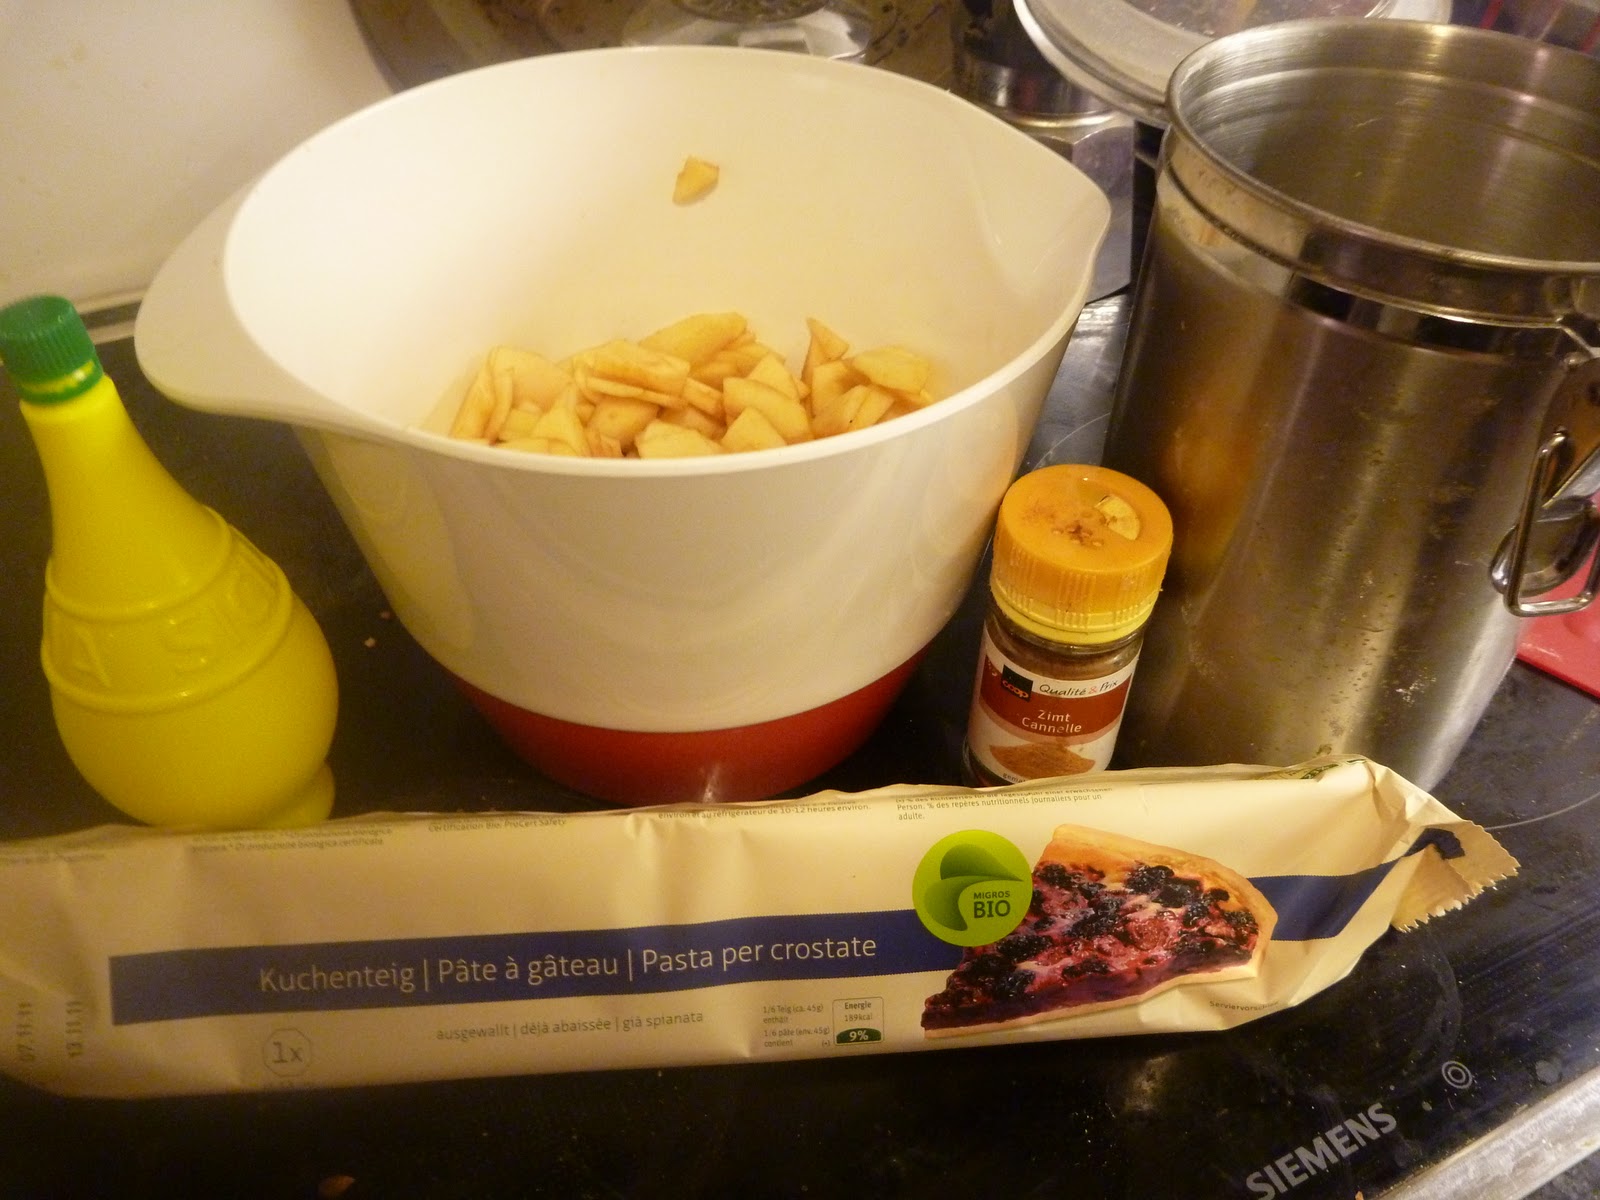
5-6 apples ( I just bought a one of the 6 packs and sliced them up since they were on sale)
3 Tbls sugar
1 1/2 tsp cinnamon
2 tsp lemon juice
Slice the apples into thin slices and put in a baking dish. Mix the sugar and cinnamon together. Sprinkle the lemon juice over the apples the ad the cinnamon/sugar mixture. Bake at 180 C for 15 minutes.
Meanwhile, unroll your dough and cut the edges into strips, leaving the center intact for your apples.
You can also start the glaze topping while this is cooking. What you need:

1/2 tsp vanilla (again I'm using the one I made since I think it tastes better)
1 pinch of nutmeg
the juice leftover from your baked apples after you have removed them from the pan
1-2 tsp water or milk

Place on a baking sheet and bake at the temperature and time indicated on the dough.
When the bread is just about finished cooking, combine the glaze ingredients. The amount of water you need to add depends on how much juice you have remaining from your apples. If you use more apples you may only need 1 tsp of water, if you use less you may need 2-3. You want the consistency to be thicker than that of water by itself, but not so thick that you can't drizzle it over the top of your bread.
Remove the pie from the baking sheet and put on a cutting board or rack. Drizzle the glaze over the top. If you can, wait a few minutes for it to cool slightly, then enjoy!

No comments:
Post a Comment