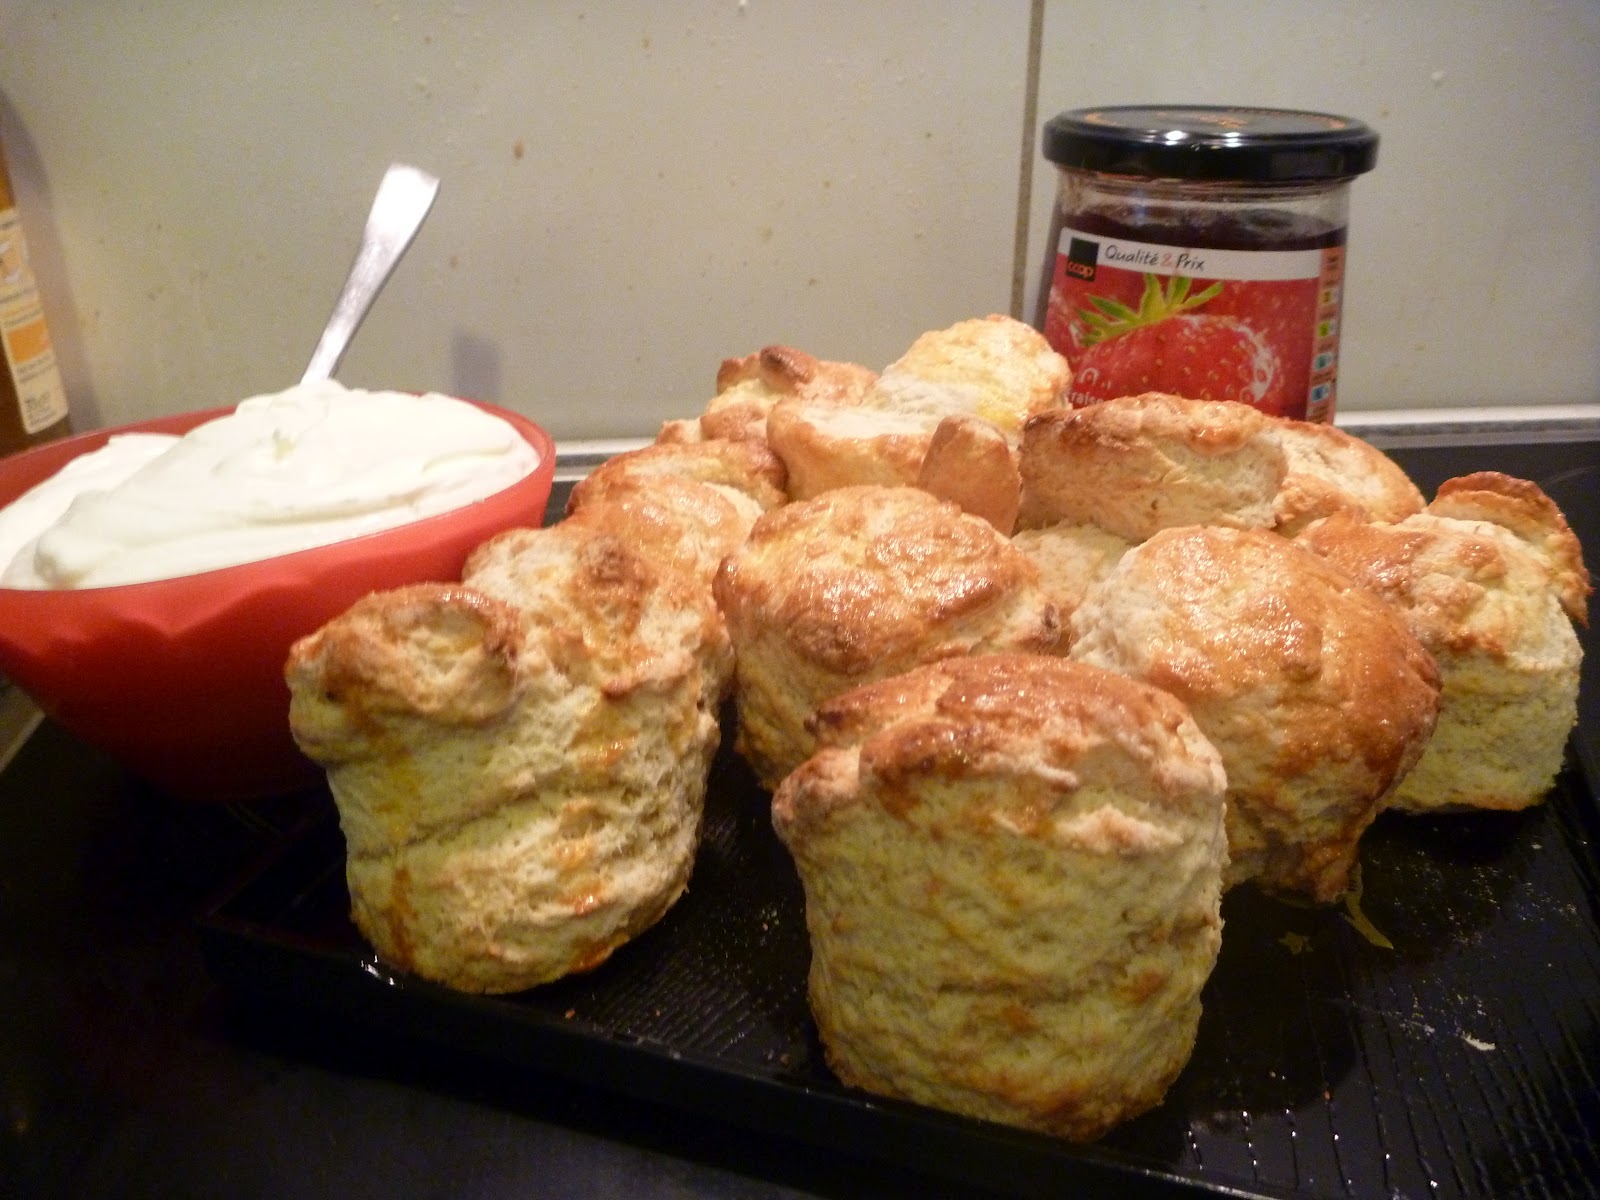
I found this recipe while looking for ideas of what to make. If you want to go really simple, just use a regular sugar cookie mix and go from there. Likewise, if you have a sugar cookie recipe you love, use it. I had been planning on using a mix, but unfortunately couldn't find it. grr. However, this recipe made good cookies, and it was the first time mine were neither burnt nor fat when I took them out of the oven. Yay!
Here is the original recipe. They look simply amazing! I halved the recipe as I didn't want to spend forever on it and got about 10 whole cookies and some mini ones out of it. Of course, it will depend on the size of your cookie cutter how many you end up with.
What you need: (for the entire recipe)
1 cup sugar
1 cup powdered sugar
1 cup butter
1 cup vegetable oil
2 eggs
1 tsp cream of tartar
1 tsp salt
1 tsp almond extract
1 tsp baking soda
5 cups flour
1 Tbls vanilla
mini candy - I used mini Smarties
For the 'glue'
1/2 cup powdered sugar
2 tsp milk
I will try out a more Swiss friendly recipe as soon as I find one and post pictures from there.
Blend the sugars with the butters until your mixture is creamy. Mix in the eggs and then the oil.
Add the dry ingredients and then the extracts. Simple, right?
Now for the fun part.
Decide how many colors you would like in your cookies. You will need food coloring. The gel kind is great. I will try the liquid ones next time to decide which works the best.
Separate your dough into as many balls as you want colored. One at a time (starting with your lightest color), mix a few drops into the dough until well blended. Set aside and continue until you have colored all the dough. ing
Next, decide what cookie cutter you wish to use. Find a bowl or dish that is deep enough for the dough, and also at least as wide (or bigger) than your cookie cutter.

Put plastic wrap (cling film) in and have enough sticking over the ends to be able to fold over your dough. Divide your dough balls into halves. With your first color, press it down into the dish so that it fills the bottom. I found that pressing the dough out as much as possible on a cutting board and then place on top of the dough in your dish. Continue layering the colors and then start back at the beginning with the second halves of your dough. Make sure your dough spreads out evenly on top of the previous layer.
Cover the dough up with the plastic wrap and place in the freezer for at least 4 hours so that you can slice it.

After the dough is frozen, remove it from the dish and slice into 1/4 inch pieces. 3 pieces of dough will make 1 cookie - or in my case, 3 pieces will make 2 cookies since I used a smaller cutter. Keep this in mind, because you will bake them in their sliced shapes, but immediately after removing from the oven, you will use your cutter for the shape you want. They harden fast. I suggest only doing 2-4 cookies at a time.
You also need a smaller cutter that will fit into your larger cutter for the middle cookie. This will create the pocket for your hidden candy. If you do not have a smaller cutter, you can use a knife, but remember to be quick!

Cook at 180 C for 12 minutes. The cookies will be soft. Make sure you cut at least 3 shapes out at a time - I cut 6 of the large circles, and then 2 of the small circles. They harden faster than you think, so be quick.
If you are using a basic shape that direction doesn't matter (like a circle), you don't need to worry about anything else. If using an animal shape, you'll want to flip over the cutter so you can make a reverse so that both the top and bottom final cookie look nice. (see linked website for more details).

After your cookies are all cut out, mix together your powdered sugar and milk (if you don't have any milk, you can always use water or another liquid). If you're careful, you can use a small spoon to drizzle the mixture around the cookie. Otherwise, you can put it in a bag and snip the end off. It will take up to 30 minutes to completely harden. Be careful placing the 'glue' as it's best if the candy doesn't all stick to it.
After you glue 2 cookies together, put in your candy. Don't go above the edge as the top cookie must still go on. Put some more 'glue' around the top and add the final cookie. Let sit for at least 30 minutes, or store in an airtight container until ready to use. I made mine 2 days in advance.

In various stages of being devoured...lots of fun for the kids!